Introduction to Altoids Wallet Upcycling
Upcycling your standard Altoids tin into a wallet is a clever and stylish hack. This project is perfect for those who love DIY crafts and are conscious about reusing materials. The Altoids wallet provides an eco-friendly alternative to traditional wallets. It also offers the satisfaction of creating something unique.
Making an Altoids wallet is super simple. And the result is a compact and chic accessory. You can complete this project with minimal materials and tools. Whether you’re a craft novice or a seasoned DIY enthusiast, this guide will help you transform the iconic tin into a functional wallet.
By upcycling an Altoids tin, you’re not only creating a conversation piece but also contributing to a more sustainable lifestyle. In the next sections, we will go over the materials you’ll need. You will learn how to assemble your wallet and ways to customize it. By the end, you will have created a one-of-a-kind altoids wallet that is not only practical but also reflects your personal style.
Essential Materials for Your DIY Altoids Wallet
Creating an Altoids wallet requires simple materials you may have around the house. This section covers what you need to start this upcycling project.
Choosing the Right Altoids Tin
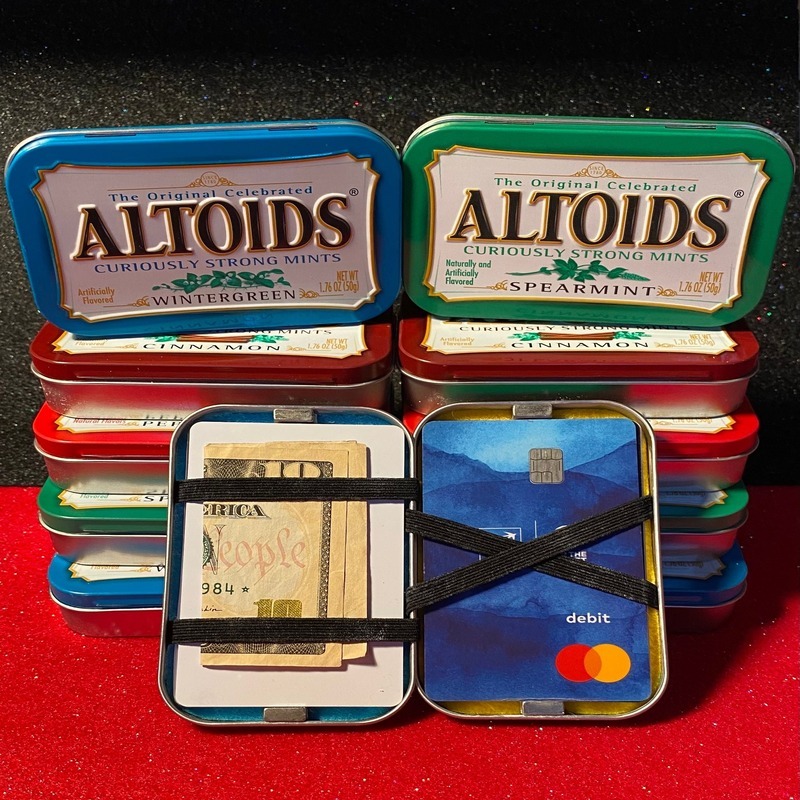
The first step is selecting the right Altoids tin. Standard tins work best as they are the right size for credit cards and IDs. Ensure the tin is clean and free from dents. It should close tightly to protect your belongings.
Binding Options for Securing Contents
Your cards and cash need to stay in place. Consider options like rubber bands, paper binders, or elastic hair ties. For a DIY touch, cut a recycled inner tube. It’s flexible and durable, perfect for keeping items snug.
Optional Add-ons: Plastic ID Holders and Decorative Elements
For extra organization, you can add a plastic ID holder inside the lid. Alternatively, a tyvek or paper flap offers a simpler solution. Decorative elements like paint, etchings, or fabric give your wallet a personalized look. Add straps, emblems, or coatings for both style and function. Remember to gather materials that match your vision for a unique, stylish Altoids wallet.
Step-by-Step Guide to Creating Your Altoids Wallet
Creating your own Altoids wallet is a straightforward process. Follow these steps to ensure success.
Preparing the Altoids Tin
Before anything else, clean your tin. Remove all residues and smooth out any imperfections. Ensure the lid closes well to keep your items secure. If you wish to paint it, lightly sand the surface first.
Binding Your Cards and Cash
Choose a binding mechanism like elastic bands or cut-up inner tubes. This will hold your cards and cash firmly in place. Avoid overstretching to prevent wear and tear.
Fitting Your Items Snugly into the Tin
Place your cards, ID, and cash inside the tin. If you’re using a plastic flap for your ID, check that it fits well. Arrange everything neatly to prevent bulking and make sure the lid can close snugly.
Personalizing Your Altoids Wallet
Once you’ve constructed your Altoids wallet, it’s time to make it uniquely yours. Personalizing your wallet can turn a simple container into a fashionable accessory that expresses your individual style.
Painting and Customizing the Exterior
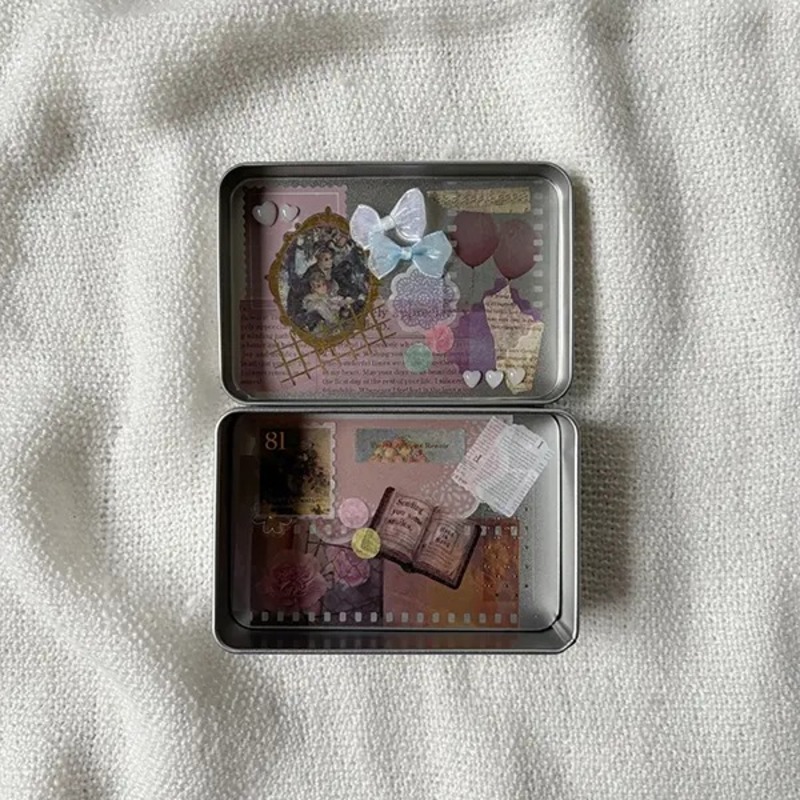
Customizing your wallet’s exterior is a fun way to show off your creativity. Start by selecting paint that adheres to metal. Sand your Altoids tin lightly to help the paint stick better. Wipe it clean of dust before you begin painting. Stick to thin, even coats to prevent drips and allow for smooth drying. Consider using stencils or tape to create designs. If painting isn’t your thing, stickers or decoupage can add personality too. Allow your wallet to dry completely before handling it further.
Adding Straps and Other Functionalities
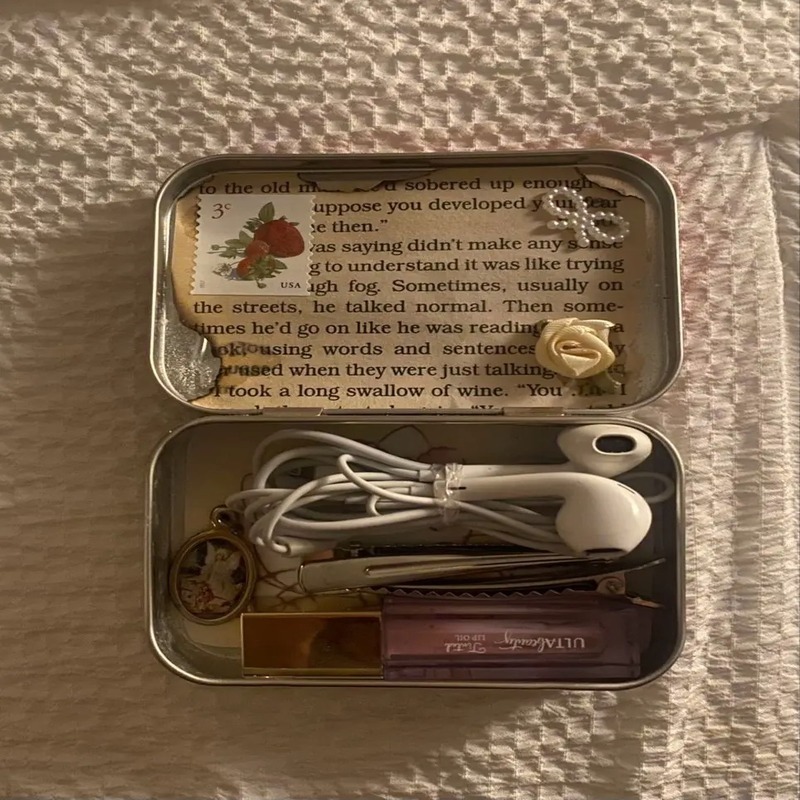
Straps are a practical addition, especially if you prefer to carry your Altoids wallet like a purse. Use materials like ribbon or recycled fabric to craft a custom strap. Attach it securely to your wallet with strong glue or by puncturing small holes and knotting the ends inside. You can also add functional elements like a loop for a keychain or a clip to attach it to a belt or bag. These features increase the usability of your DIY wallet while keeping it portable and handy.
Securing Your DIY Altoids Wallet
Ensuring your new Altoids wallet remains closed is crucial. This section provides simple yet effective closure mechanisms.
Closure Mechanisms to Keep Your Wallet Shut
A secure wallet is a functional wallet. Consider these options to keep your Altoids wallet shut:
- Use a sturdy rubber band or hair tie for a quick and easy fix.
- For a lasting hold, attach a hook and loop strap to your wallet.
- Consider a magnetic closure for a more sophisticated touch.
- Explore a button and loop closure if you prefer a traditional solution.
Each method offers a blend of security and ease of access. Select one that suits your style and use.
Durability Enhancements and Protective Coatings
To increase your wallet’s lifespan, apply protective measures. A few suggestions to enhance durability are:
- Seal painted surfaces with a clear coat to prevent chipping and scratches.
- Add strips of electrical tape along the edges for extra grip and tear resistance.
- Experiment with Plastidip or a similar rubber coating for shock absorption.
These enhancements not only add life to your wallet but maintain its sleek appearance too.
Select closure and durability enhancements that align with your personal use and flair. Your Altoids wallet should be a reflection of practicality and your unique taste.
Advanced Modifications and Creative Ideas
Once you have the basics down, take your Altoids wallet to the next level with some advanced tweaks. With a bit of creativity, you can integrate additional functionalities that can transform your wallet into a multi-use gadget.
Integrating Technology and Additional Features
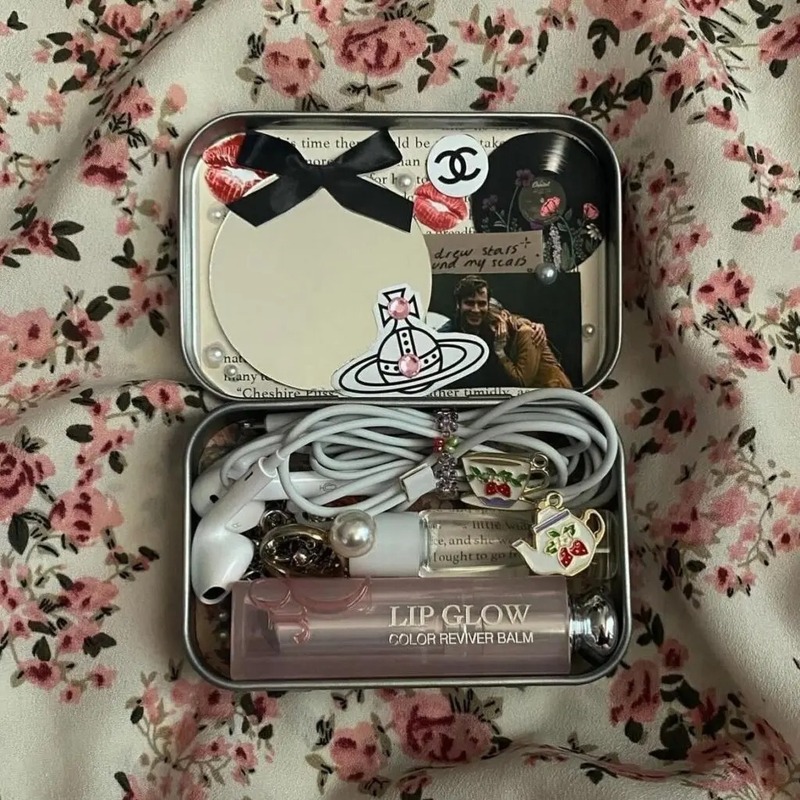
To make your Altoids wallet even more versatile, consider incorporating some tech elements. A simple addition could be a small USB flash drive, tucked safely inside. You could also modify the tin to include a hole for earbud wires if you like to carry your music with you. For those who value security, embedding a slim tracker device can help keep tabs on your wallet’s location. Just ensure that any tech you add still allows the tin to close securely to protect your items.
Another idea might be to line the interior with RFID-blocking material. This added feature can help protect your credit cards from skimmers. If you’re frequently on the go, attaching a compact multi-tool to the tin could provide you with handy resources in a pinch. Make sure any additional features don’t obstruct the primary function of the wallet: to safely carry your essentials.
Exploring Other Instructables for Inspiration
There’s a wealth of creative ideas on Instructables that can inspire you to take your Altoids wallet further. For instance, you might find a guide to adding a solar panel that charges small devices, or steps to craft a built-in coin holder for loose change. Instructables cover a wide range of possibilities—from simple decoration ideas to complex modifications. They can be excellent resources for step-by-step instructions or just to spark your imagination. Browse through various projects and see which ones align with your technical skills and the functionality you want to create. Remember, the sky’s the limit when it comes to customizing your DIY Altoids wallet.
Conclusion: The Benefits of Upcycling with Style
Crafting an Altoids wallet is more than just a fun DIY project. It’s a step towards sustainable living. By choosing to upcycle, you turn something old into something new and useful. You also reduce waste and help the environment. This small act can inspire others to think about how they can reuse items in their own lives. Plus, you end up with a stylish and personalized accessory that’s sure to start conversations.
When you make an Altoids wallet, you tap into your creativity. You pick out materials, decide on designs, and add features that suit your needs. Every choice you make adds to your wallet’s uniqueness. This DIY wallet can be as simple or as complex as you like. Whether you’re adding technological features or just a splash of paint, your Altoids wallet is a reflection of you.
Don’t forget the savings aspect too. Instead of buying a new wallet, you’ve crafted one at a fraction of the cost. That’s money you can save or spend on other things you enjoy. In conclusion, creating an Altoids wallet is rewarding in many ways. It’s a smart, creative, and eco-friendly choice that combines function with self-expression. So go ahead, give it a try, and style up your upcycling!
