Introduction: The Benefits of a Custom Makeup Bag
A travel makeup bag offers many advantages over a generic, mass-produced one. With a customized makeup bag, you can select the size, shape, color, pattern, and features that work best for your needs. This allows you to maximize the storage and keep your cosmetics and toiletries neatly organized.
Custom bags also make great gifts. Add a name, initials, or meaningful quote and you have a personalized present for birthdays, holidays and other special occasions. Going the custom route means you aren’t limited to whatever designs big retailers have in stock. You can dream up something truly unique that shows off your personal sense of style. And if you ever get tired of a custom bag, you can design yourself a new one rather than being stuck with the same old thing. With so many practical and personal benefits, custom makeup bags are a savvy choice.

The importance of having a travel makeup bag
DIY Travel Makeup Bag: Affordable and Fun
A travel makeup bag is an essential item for any jet-setting woman. With the right makeup bag, you can keep all your beauty essentials organized and within easy reach when you’re on the go. But buying a high-quality makeup bag can be pricey. Why spend a fortune when you can make one yourself for a fraction of the cost? Making your own DIY travel makeup bag is easy, fun, and affordable.
Creating a Customized DIY Makeup Bag
Start by finding a small, sturdy bag or pouch that zips closed. An old pencil case or small cosmetic bag works perfectly. Next, take an inventory of your must-have makeup and toiletries and figure out what compartments and divisions you’ll need to add inside your bag. Get creative with materials like felt, mesh, elastic bands, ribbons, and more to customize sections for everything from brushes to bottles.
List of fabrics and interfacing types suitable for the makeup bag
When making your own travel makeup bag, choosing the right fabrics and interfacing is key to creating a durable and stylish accessory. Lightweight cottons like quilting cotton or cotton voile are excellent choices. They’re easy to sew, breathable, washable, and give the bag a soft drape. For more structure, canvas is a versatile fabric that comes in various weights. It’s hardwearing while still remaining flexible. Consider coating canvas with wax to make it water-repellent. For a touch of luxury, silk and faux leather are elegant options, providing sheen and polish. As for interfacing, a medium-weight fusible interfacing gives bags shape without adding bulk. The synthetic or cotton/poly blends fuse smoothly and won’t alter the hand of the outer fabric.

Determining the size of the bag based on travel needs
Tailor-Made DIY Makeup Bag for Travel Essentials
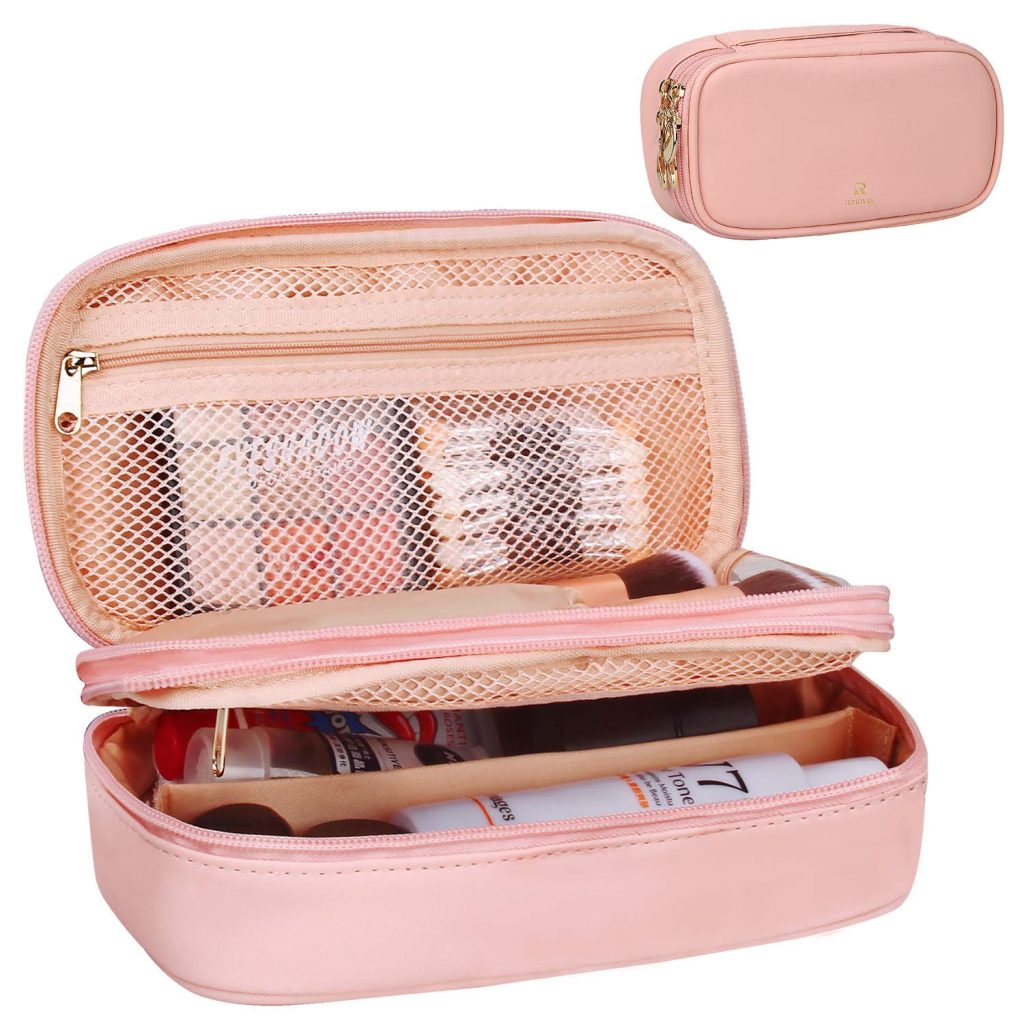
When making your own travel makeup bag, it’s important to consider your specific needs and travel habits to determine the ideal size. For short weekend getaways, a small cosmetic pouch just big enough to hold daily essentials may suffice. Look for a design that’s around 5 by 7 inches and has a zipper closure to corral all your miniature makeup, skincare, and toiletry items.
Choosing the Right Size DIY Makeup Bag for Long Trips
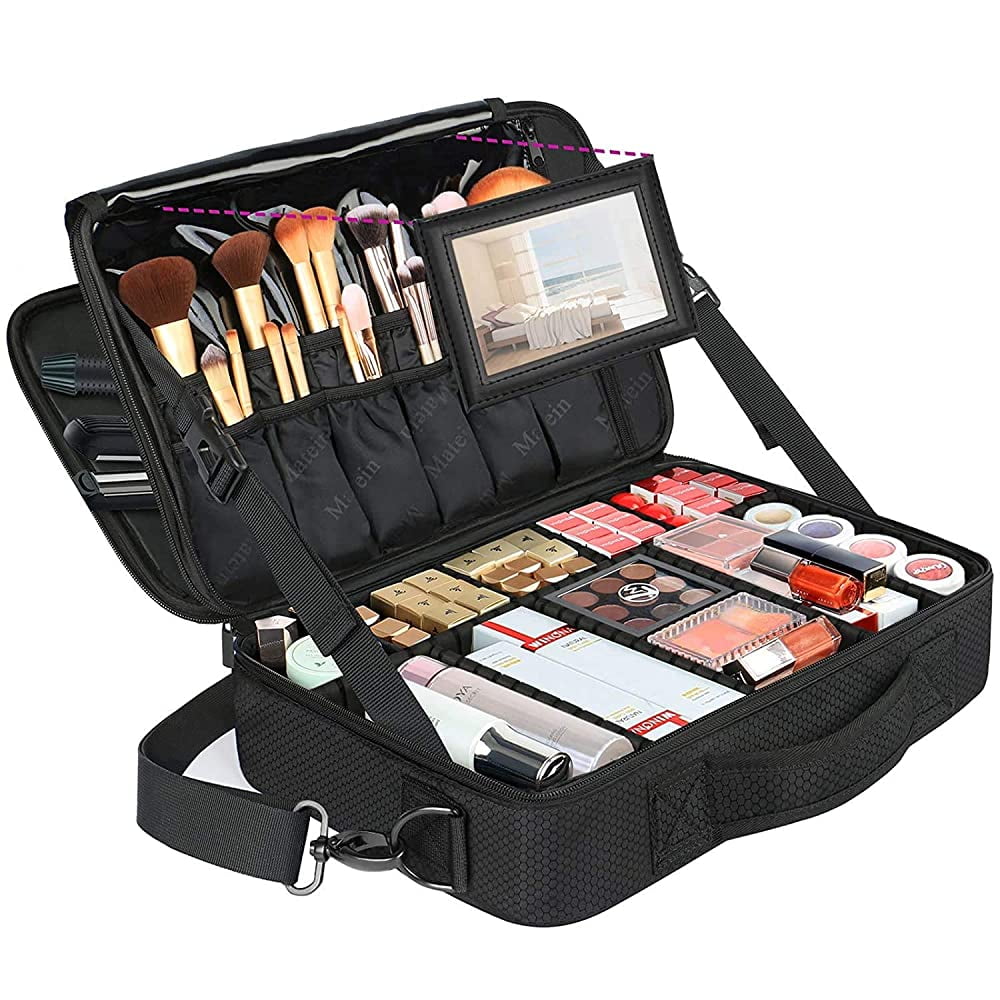
If you frequently take longer trips of a week or more, upgrade to a larger makeup case approximately 8 by 10 inches. This gives you room for full-size products while still staying compact for packing. For two-week-plus excursions or international travel, consider sizing up to a roomy 10 by 12 inch bag that fits all your makeup, ample brushes, skincare, hair products, medications, and other necessities.

Step-by-step instructions on how to draw the pattern
Designing Your Custom DIY Travel Makeup Bag
When making your own custom travel makeup bag, start by envisioning the pattern or design you want to create. Gather your materials – fabric, fabric markers or paint, stencils if using. Lay the fabric flat on a table. If using stencils, place them on the fabric and carefully trace their outlines with a fabric marker. Remove the stencils and fill in any larger areas by hand with markers, trying to maintain clean lines.
Crafting a Personalized Design on Your DIY Bag
If freehand drawing, lightly sketch your design first with a pencil. Then trace over the pencil outlines with a fabric marker, darkening the lines once you’re happy with the design. Add any details like flowers, geometric shapes, or words using the markers. Color in areas as desired with markers or fabric paint applied with a brush. For best results, place a sheet of paper between the fabric and table so the markers don’t bleed.

How to lay out the pattern on the fabric
When starting this fun sewing project, one of the first steps is getting your pattern pieces arranged neatly on the fabric you’ve chosen for the bag. Clear off a large, flat work surface and lay out the fabric with the patterned side facing down. Smooth out any wrinkles. Then take your paper pattern pieces and place them on top, being sure to leave ample space between each piece – about 1-2 inches is good. You’ll need this extra fabric allowance later for seam allowances. Position the pieces creatively to maximize fabric use. Once everything is lined up, carefully pin the paper templates in place along their outer edges. Make sure pins are perpendicular to the edge for stability. Add pins about every 3-4 inches. With the pieces pinned securely, you can now cut out each section accurately following the paper outline.
Sewing the fabric and interfacing
Before jumping into sewing, select a fabric that speaks to your style and a coordinating interfacing to give your travel makeup bag structure. Cut the fabric and interfacing according to the pattern you’ve chosen. Iron the interfacing onto the wrong side of the fabric to prevent any shifting while you stitch. This also ensures your makeup bag will stand up to the rigors of travel.
Now, place the fabric pieces right sides together. You’re ready to start sewing! Begin along the edges, following your pattern’s seam allowance. Leave an opening so you can turn the bag right side out later. When sewing corners, take extra care to maintain a smooth, even line for a professional finish.
Remember, steady and slow wins the race here. Rushing might lead to uneven seams, which can result in a less polished look and a less durable makeup bag. Take your time to ensure each stitch is just right, setting the stage for a travel companion that’s both chic and strong.